...
...
...
...
...
...
| Warning |
|---|
The information on this page applies only to college managed devices. If you are on a personally owned computer please visit Software at Geneseo |
| Excerpt |
|---|
The Software Center application is similar to a mobile device app store (such as Google Play or the Apple App Store), but it provides customized content for University Windows systems. This content includes access to university approved software, maintenance task scheduling, support options, and other documentation. The Software Center gives clients the flexibility of choosing what to install and when to install it. The Software Center is managed and maintained by SUNY Geneseo CIT. |
Before You Start
| Info |
|---|
For Software Center to function, the device must be on the EDUROAM wireless network, connected through ethernet on campus, or if off-campus, connected via a Virtual Private Network (VPN) |
| Warning |
|---|
Some software packages may require you to close running applications to proceed and/or immediately restart your computer after installation. Please save and quit all applications before installing additional software. |
Steps
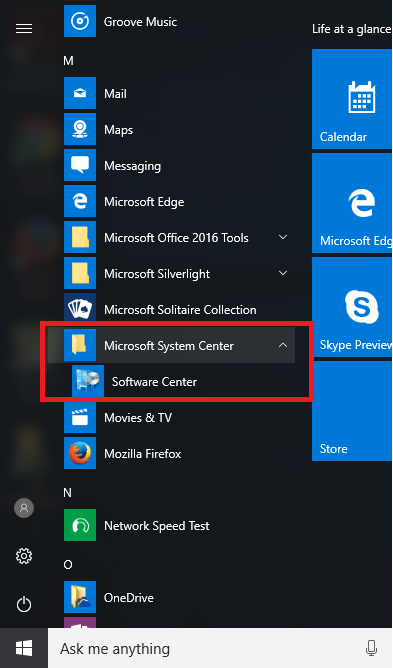
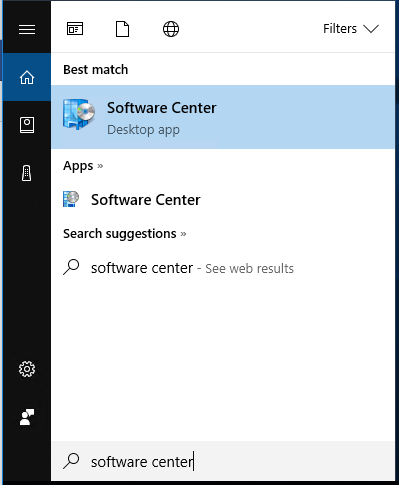
To open Software Center, look for Software Center in the Start Menu (under the Microsoft System Center folder) or by searching (type 'Software Center' in the Search field (or click the white circle icon) in the left of the Taskbar.)
A.
...
B.
...
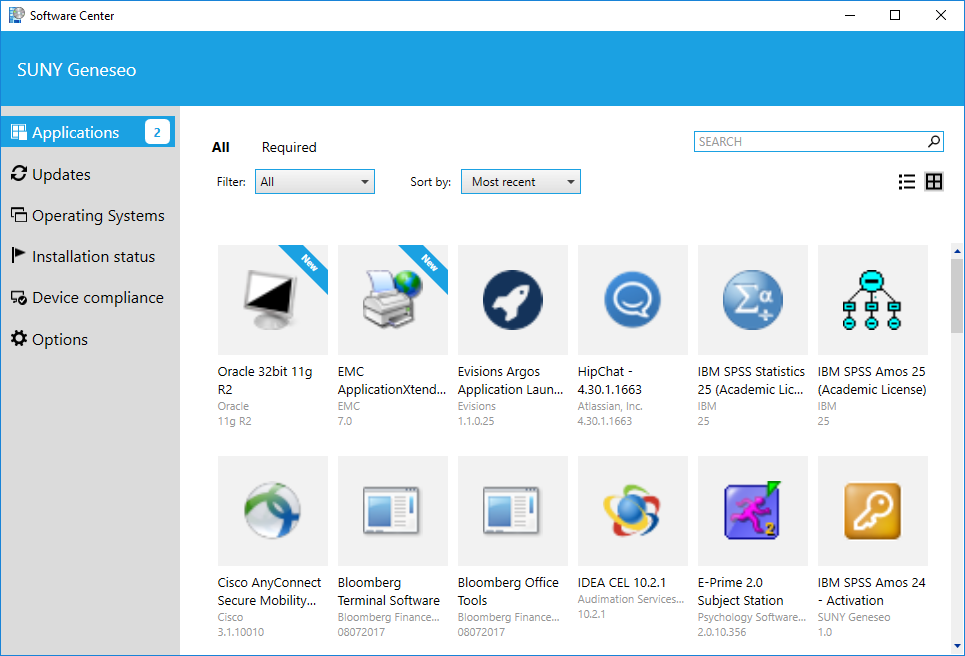
Upon opening Software Center you will be presented with the default view.
...
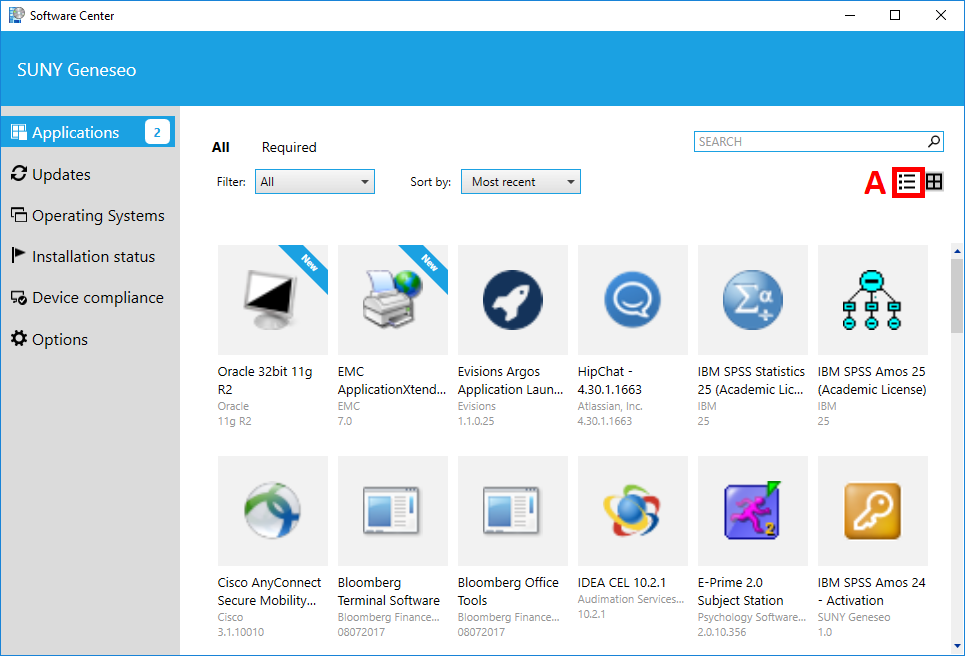
Click on the List view icon "A" See installation status "B".
...

Click on an icon "C" to select the application.
...

Click Install "D" to begin installation.
...

Software Center will keep you informed throughout the entire installation process.
Waiting to apply changes (immediately after clicking Install).
...

Downloading
...

Installing
...

Installed, Note: Not all applications have uninstall ability. This option may be grayed out.
...
Once installed, be sure to follow any additional instructions on the dialog boxes.
After installing, the new software will have its status changed to "Installed".
You can also click on Installation Status "E", to see software installed through Software Center.

...
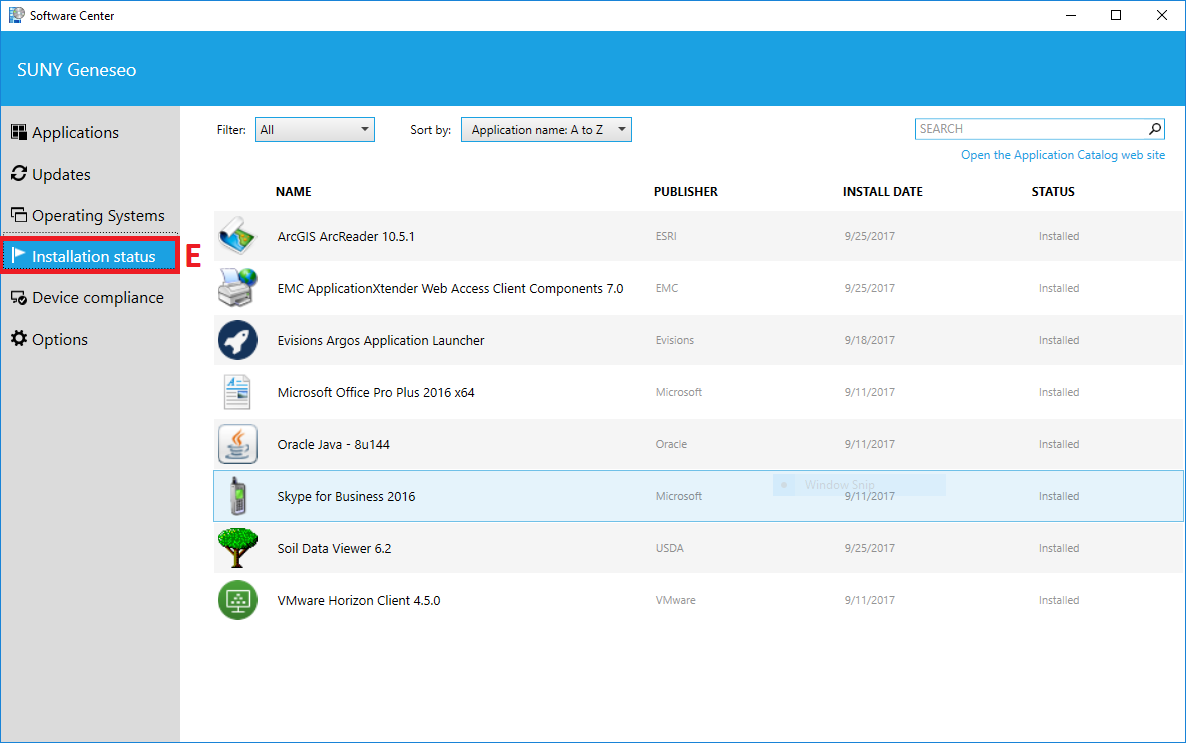
| Info |
|---|
The Installation Status section displays a list of software that you have installed on your computer through Software Center. This is not a list of all the software on your computer. |
Related Articles
| Filter by label (Content by label) | ||||||
|---|---|---|---|---|---|---|
|
...
|
...
|
| Include Page |
|---|
...
|
...
|
| Page Properties | ||
|---|---|---|
| ||