...
Login to https://my.geneseo.edu
Click on the KnightWeb Contact Information tile.

Click on the Personal Information field.

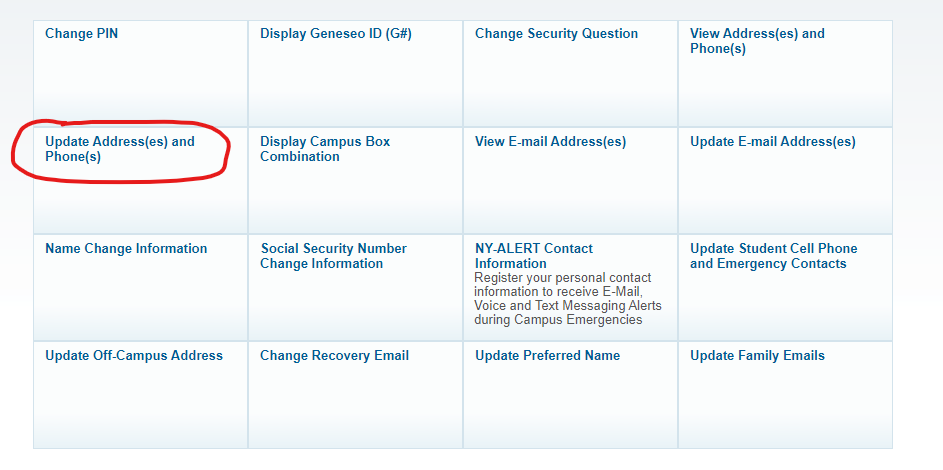
Click on Update Address(es) and Phone(s)
Select the Temporary Address from the Address selection box at the bottom of the page. Then click the Submit button.


Scroll down to the Address Row. Click “Add New”.

In the popup window, select “Temporary Address” from the “Type of Address” dropdown.

Enter your address, along with effective dates. Then click Submit.
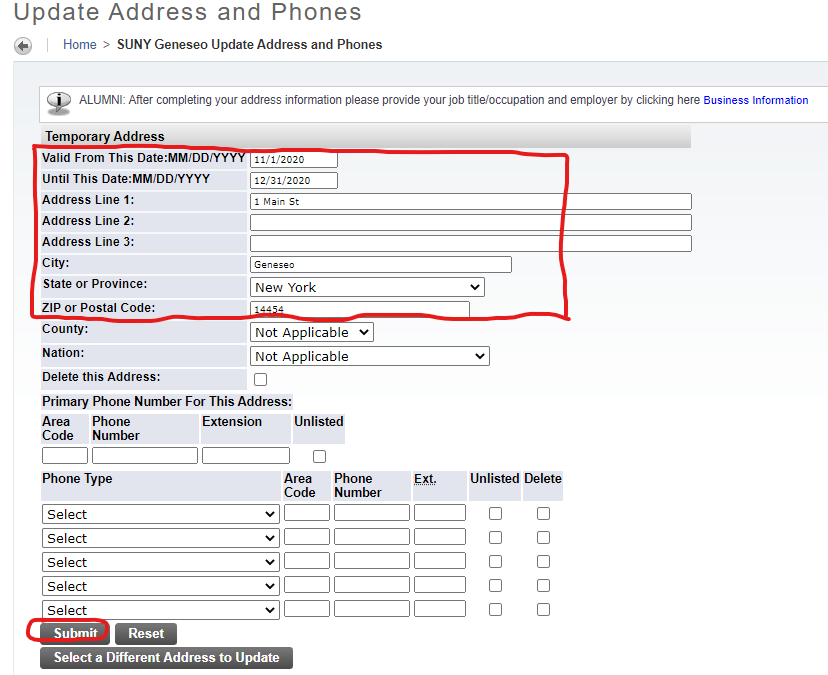
the “Valid From” and “Valid Until” dates, and click the “Add” button.

| Include Page | ||||
|---|---|---|---|---|
|
| Page Properties | ||||||
|---|---|---|---|---|---|---|
| ||||||
|