...
| Excerpt |
|---|
This Self-Help guide pertains to the Hybrid Classroom Technology installed in Welles 24, 26, 121, 123, South Hall 338, and 340. |
Before You Start
The Hybrid Classroom system connects to your laptop with HDMI/VGA and USB connections. Please have your adapters ready if you do not have full size HDMI/VGA and USB ports.
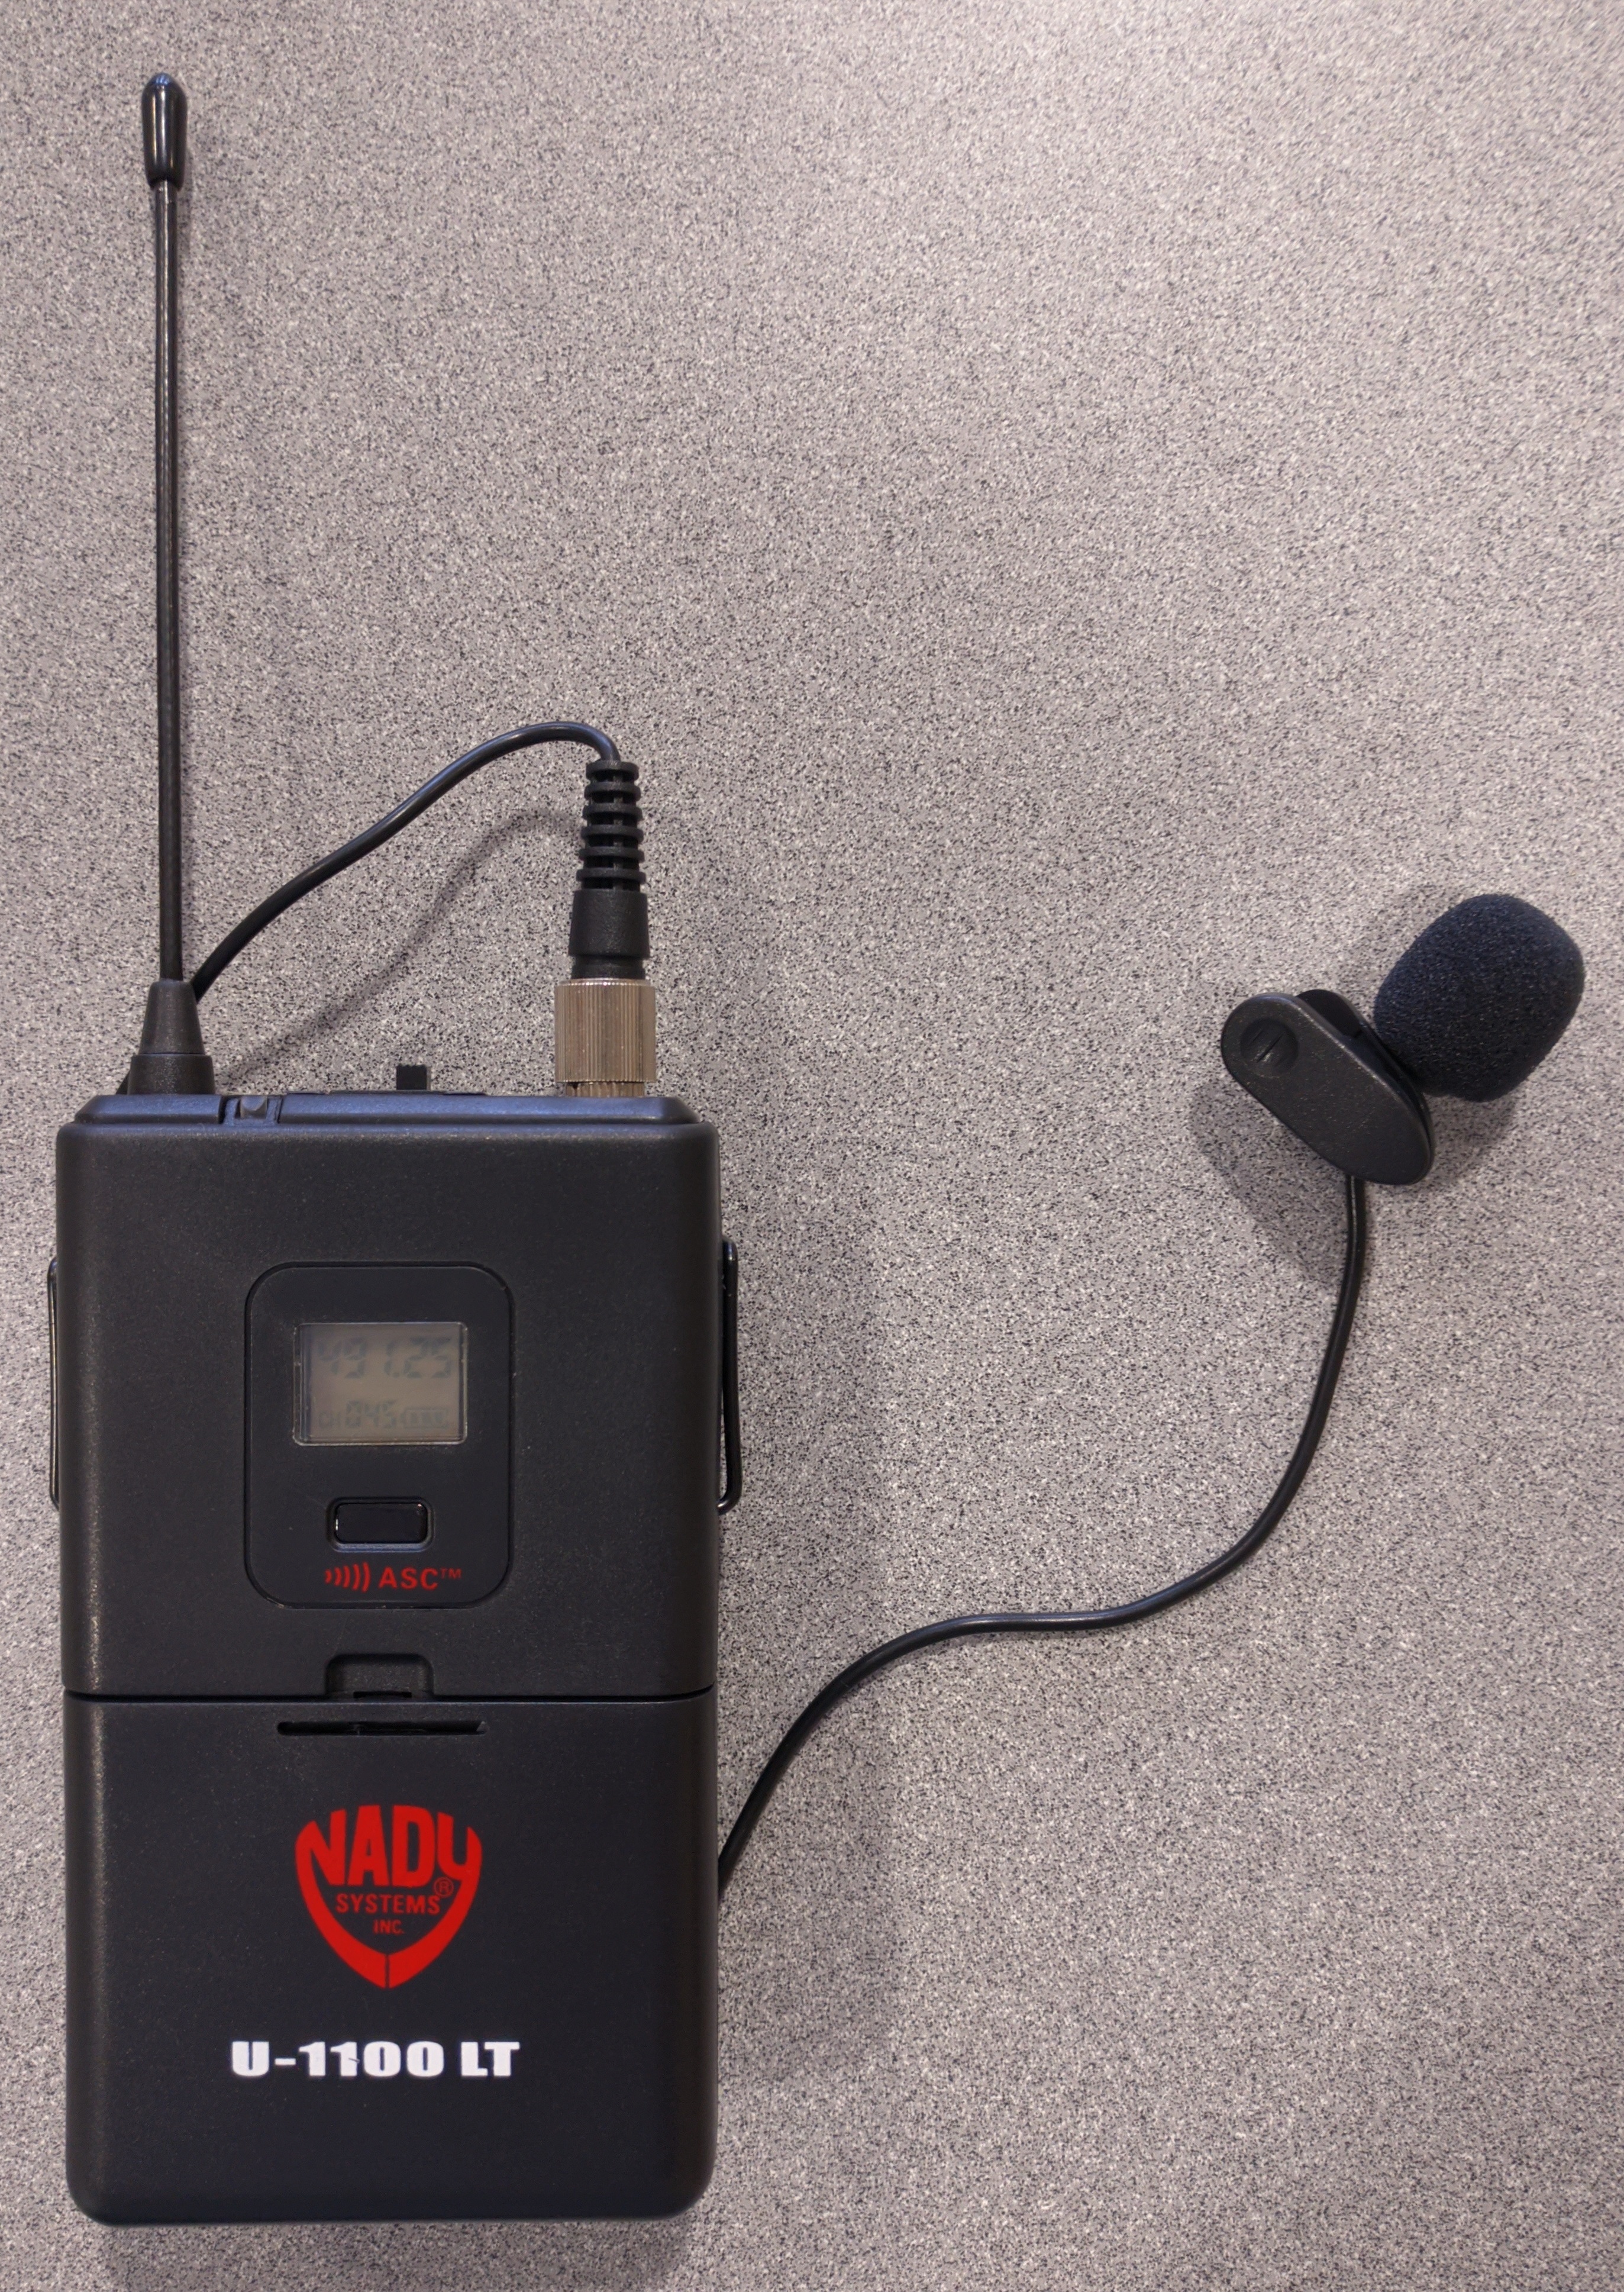
The Hybrid Classroom system is designed with audio clarity in mind so that the participants, both in-person and remote, can hear well. Ceiling microphones pick up the voices of the in-person participants and a lapel mic picks up the voice of the presenter.
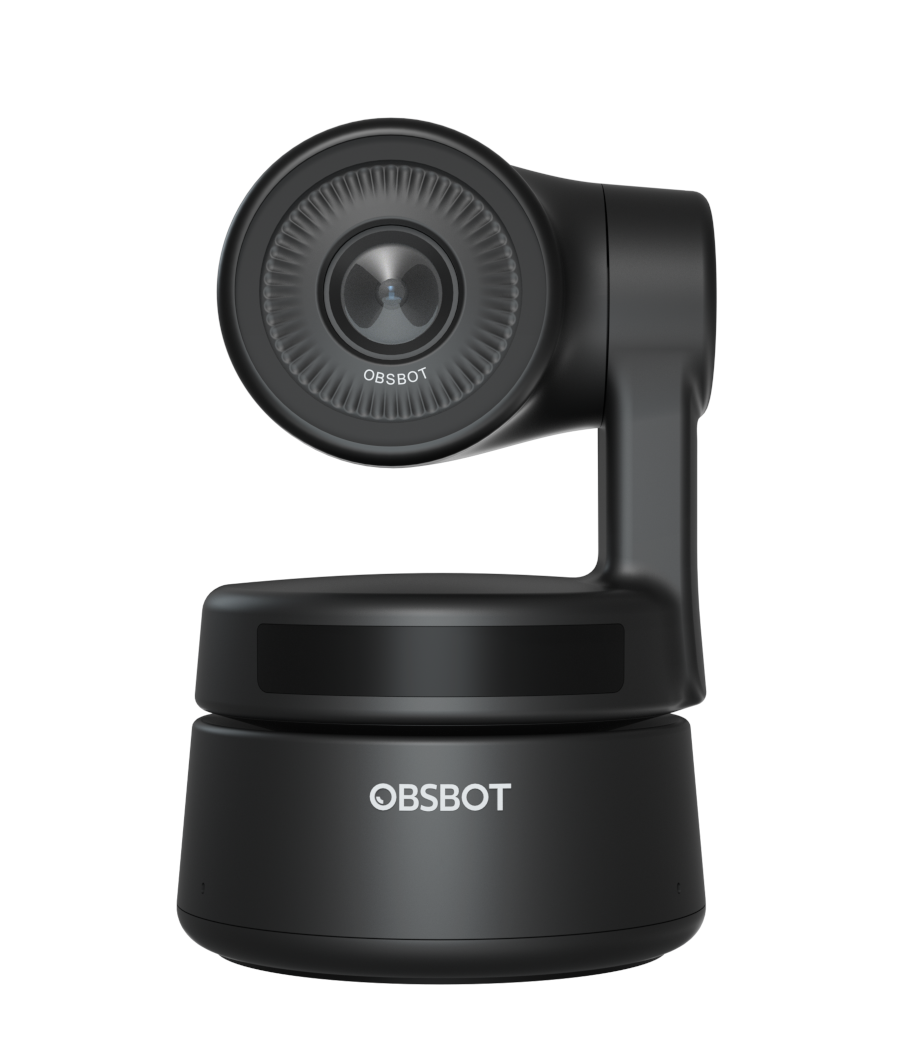
The Hybrid Classroom system has a USB connected auto-tracking camera, the OBSBOT Tiny, installed that can track the presenter as they move about the space.
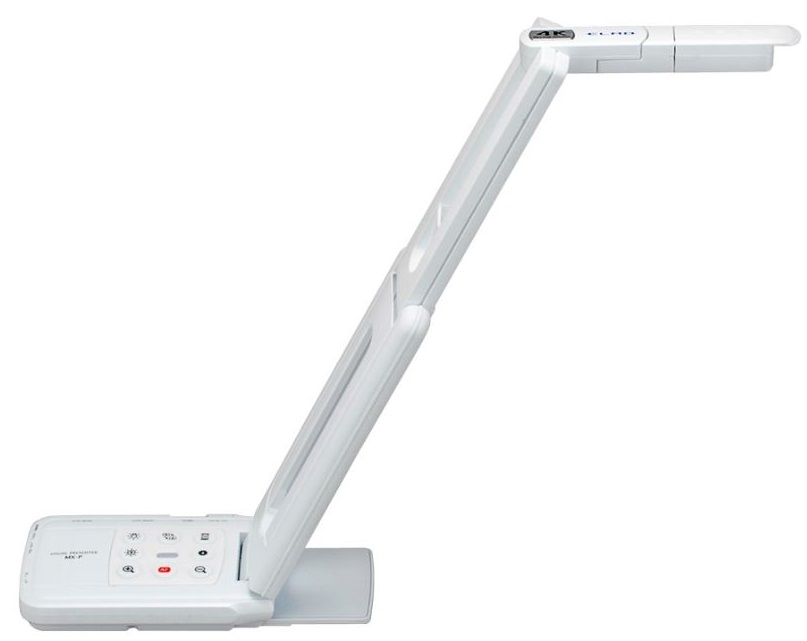
The Hybrid Classroom system also has a USB and HDMI/VGA connected document camera, the Elmo MX-P2, installed that can be used for document presentations to both the in-person and remote participants.
The Hybrid Classroom system cannot perform miracles. You may need to adjust your presenting style slightly in order to provide the best experience for in-person and remote participants.
When sharing content on the main display, share your screen within Zoom/Teams so that both the in-person and remote participants can view the content.
For classes in a space with only one display, show the remote participants on the display during discussion portions of the class rather than content so that the in-person participants can easily see their remote classmates.
Steps
Turn on the system via the Extron Touch control panel. (South 338 shown, other rooms similar)

South Hall Start Screen
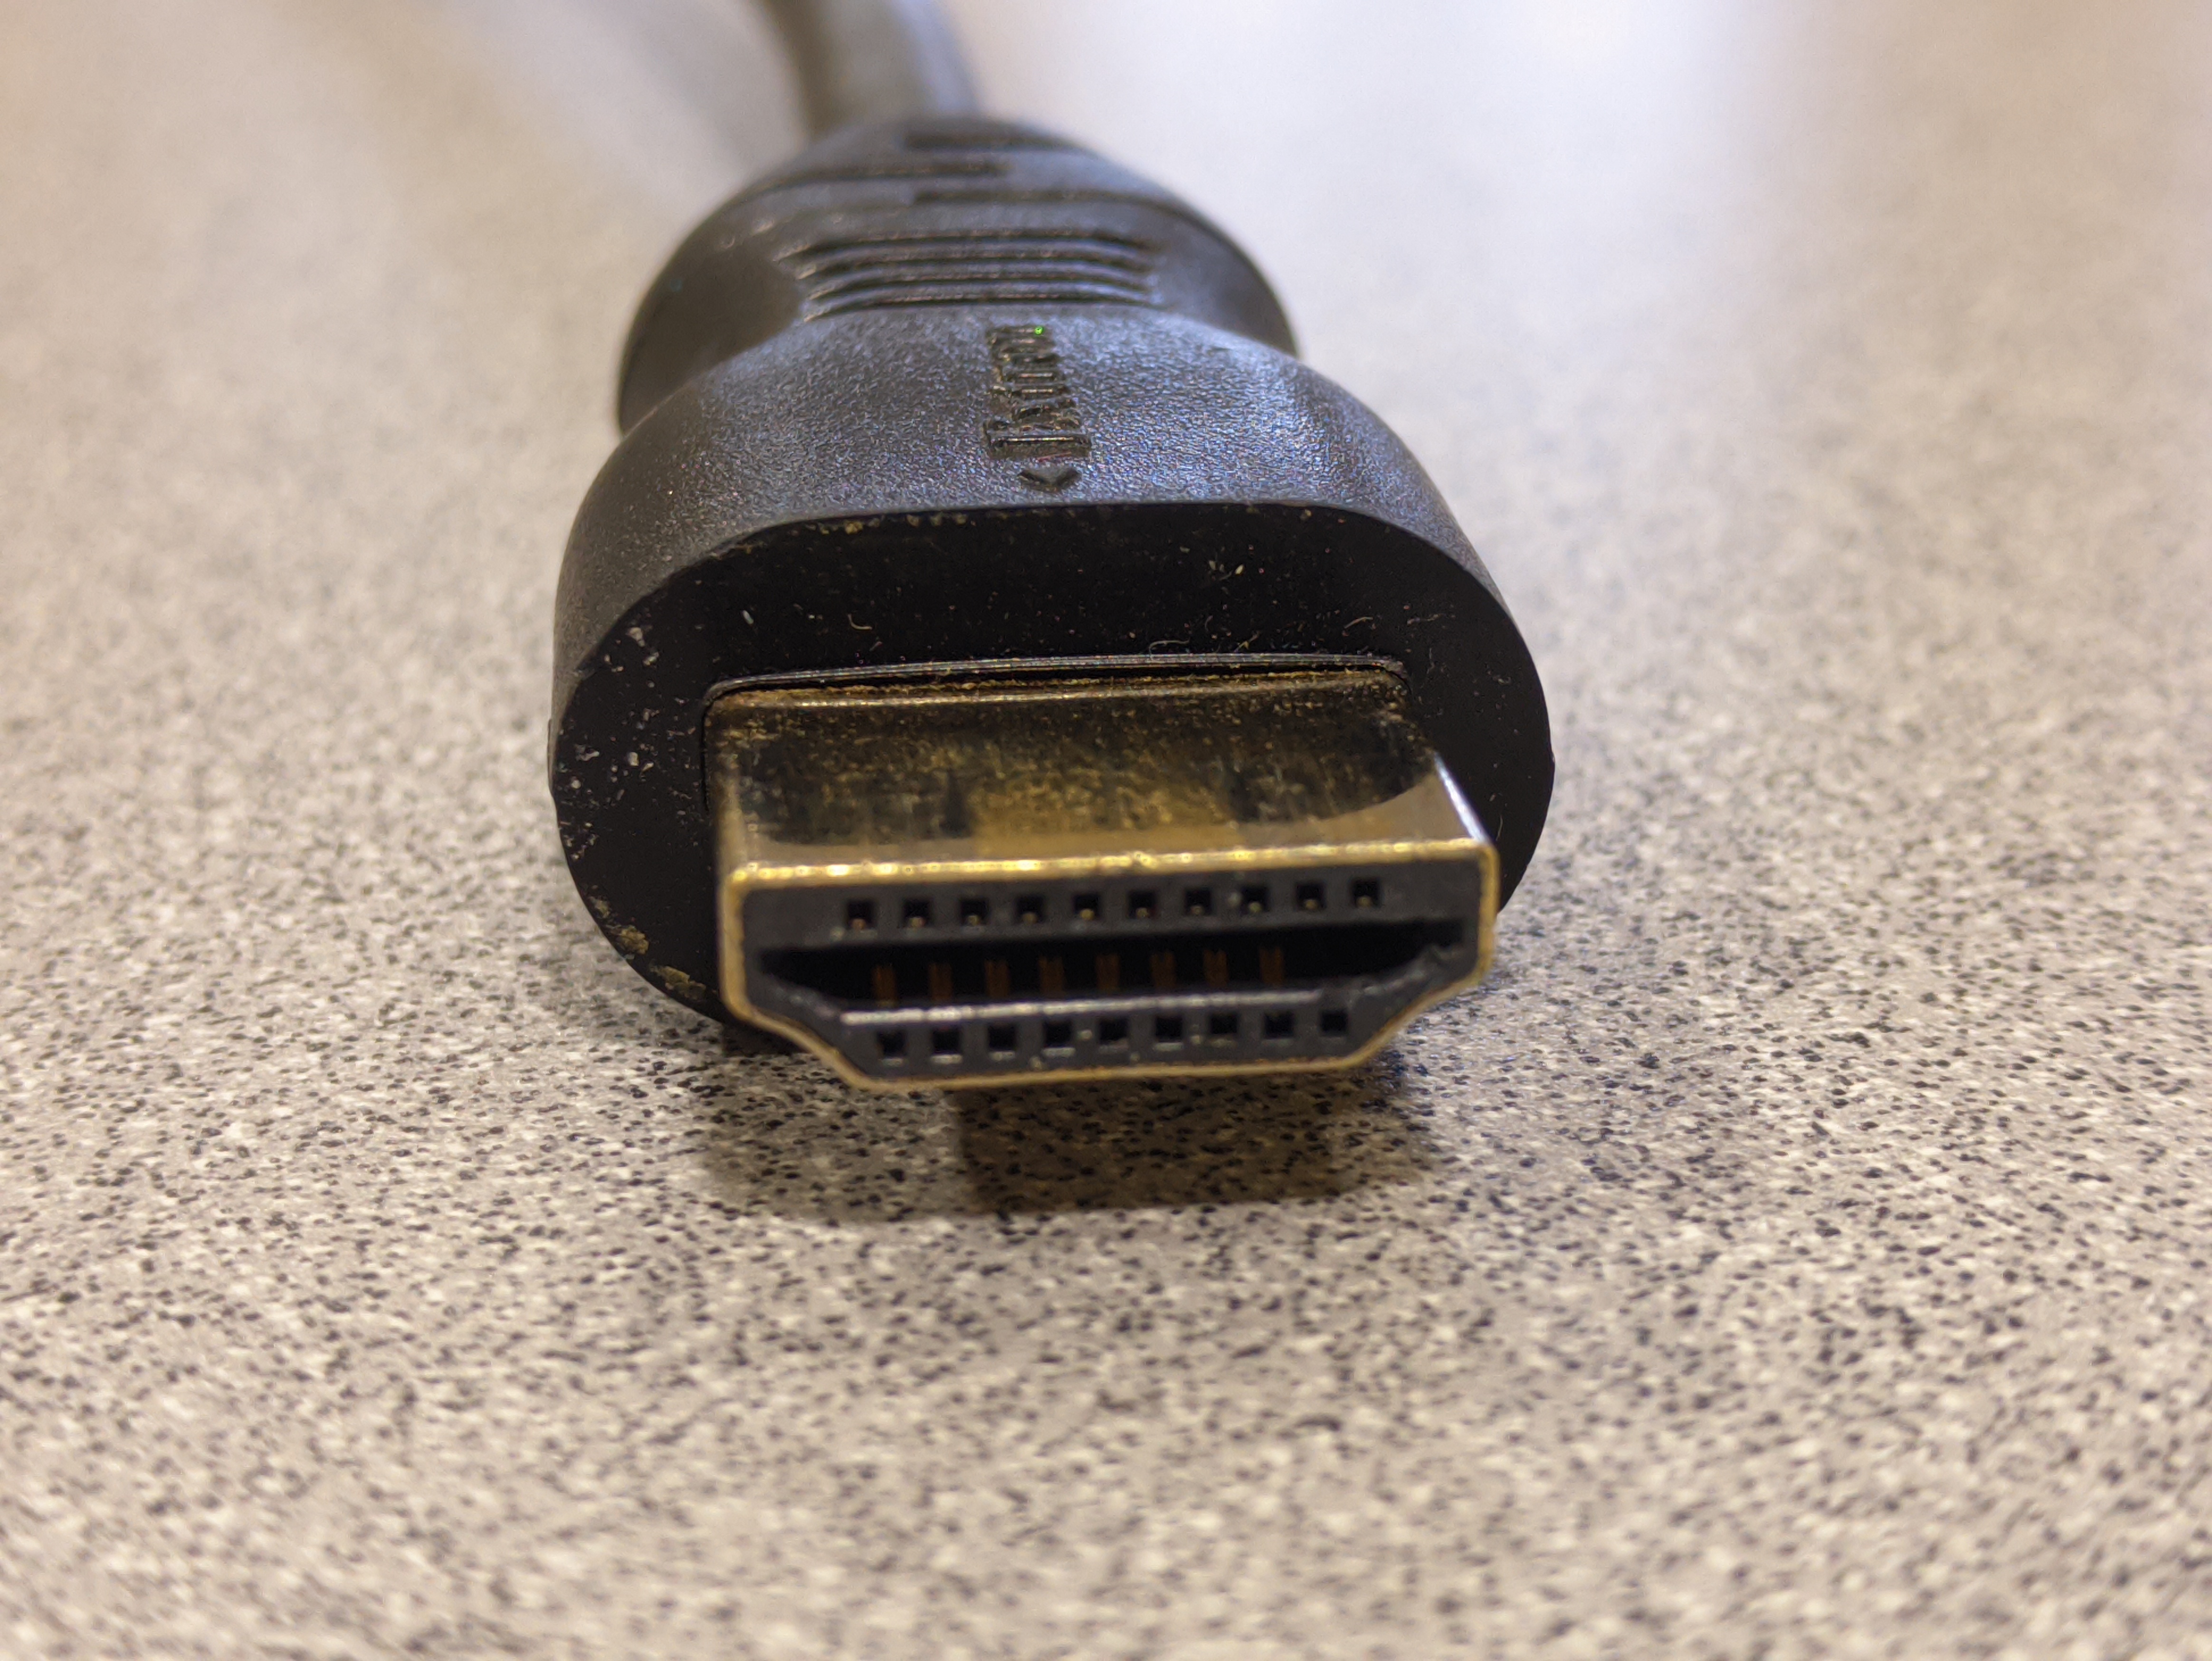
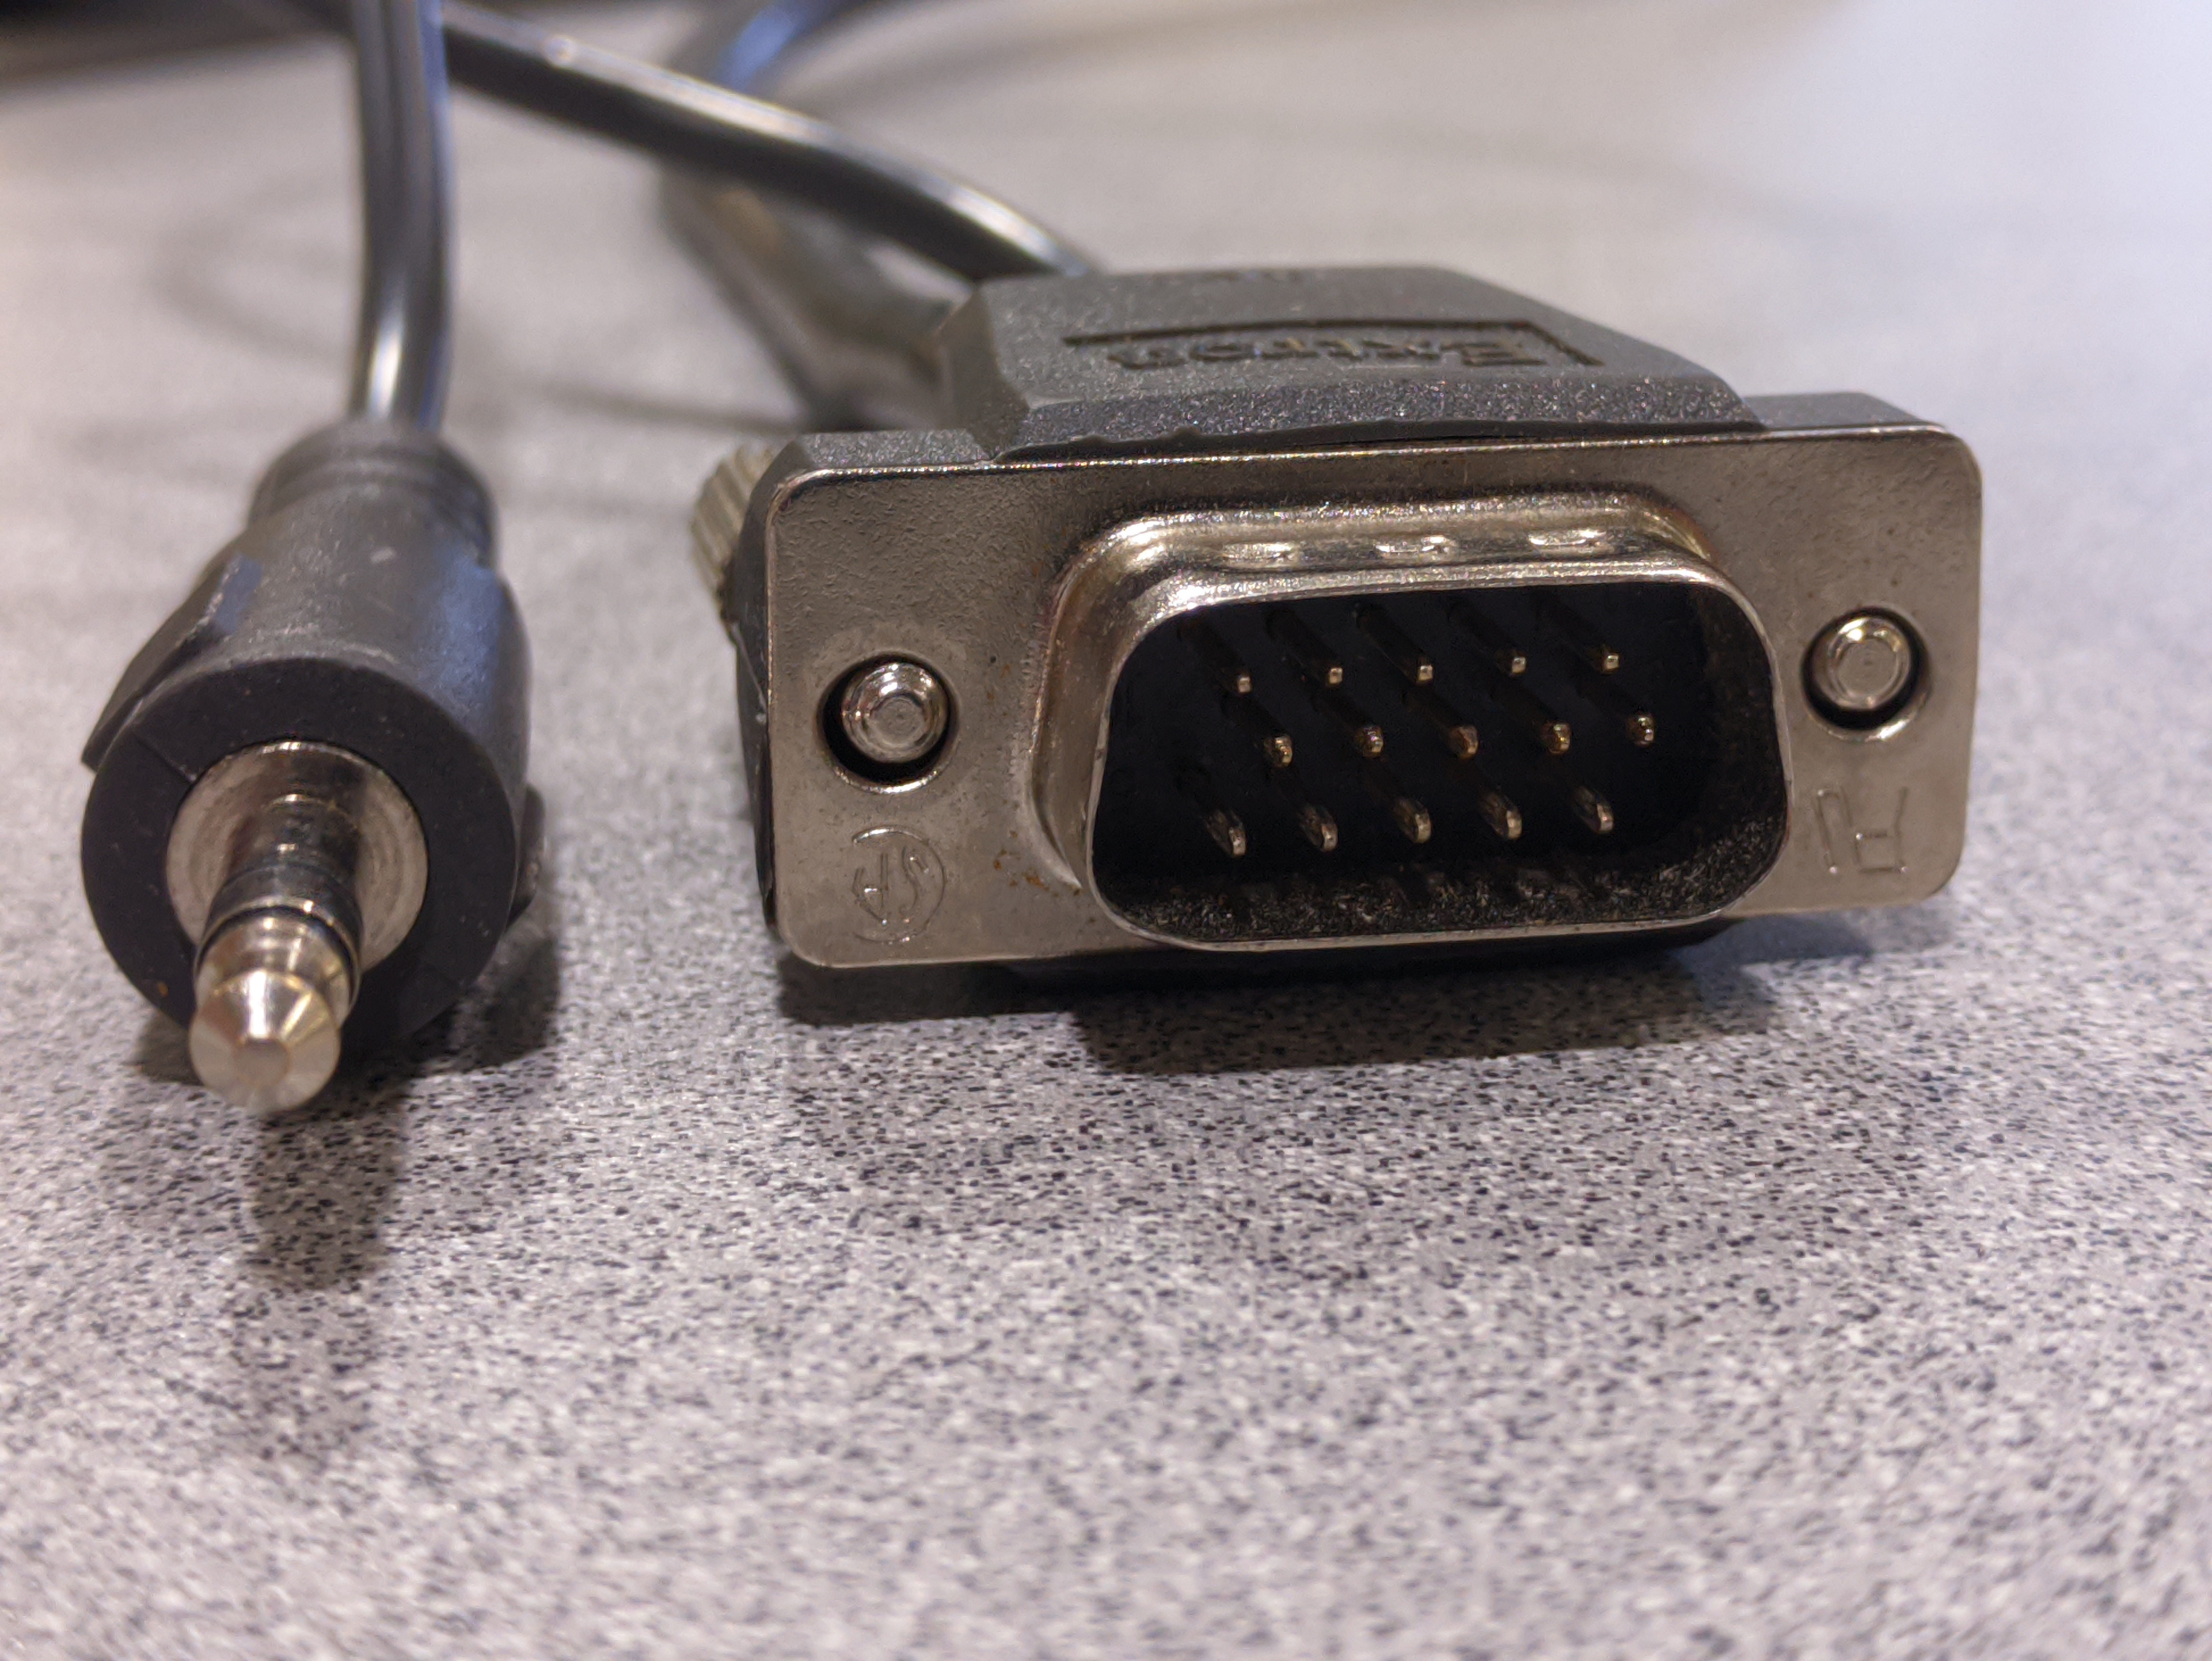
Connect the HDMI (preferred) or the VGA/External Audio connections to present video to the system. Adapters may be needed for laptops without full size versions of these ports.


Connect the USB cable labeled "USB AUDIO/VIDEO" to your laptop.
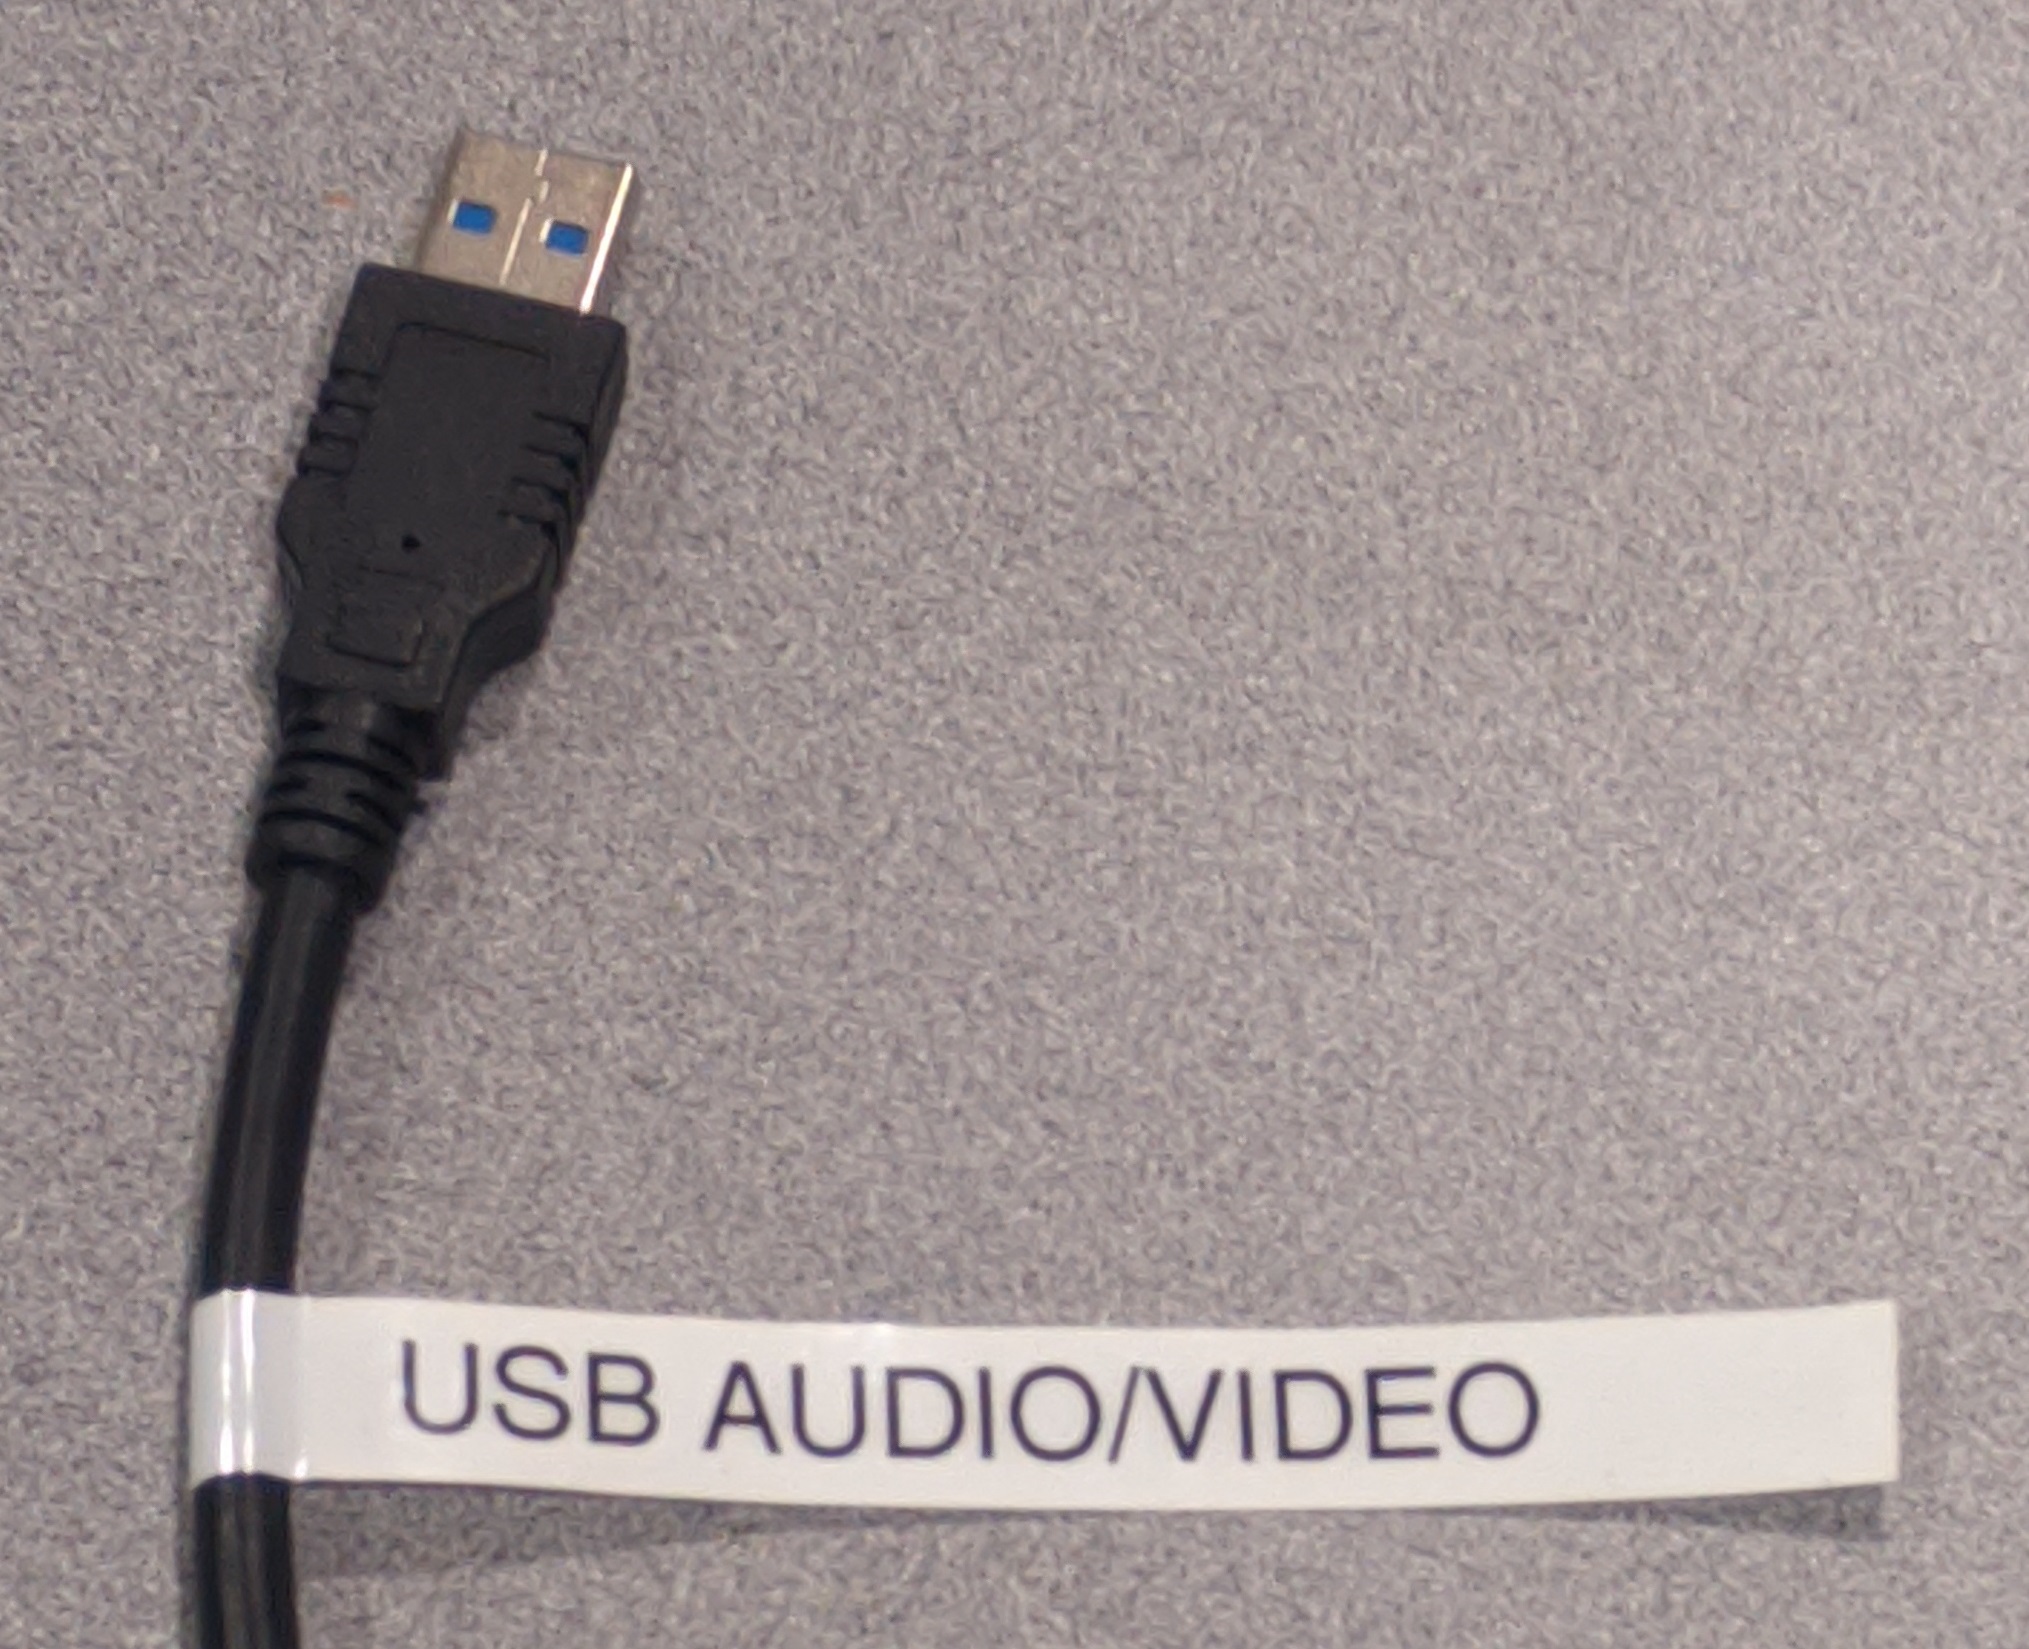
If using your laptop, an adapter may be needed for machines without full size USB ports. The "USB AUDIO/VIDEO" cable connects the audio from the ceiling microphones and lapel microphone, the OBSBOT Tiny Camera, and the Elmo MX-P2 Document Camera.
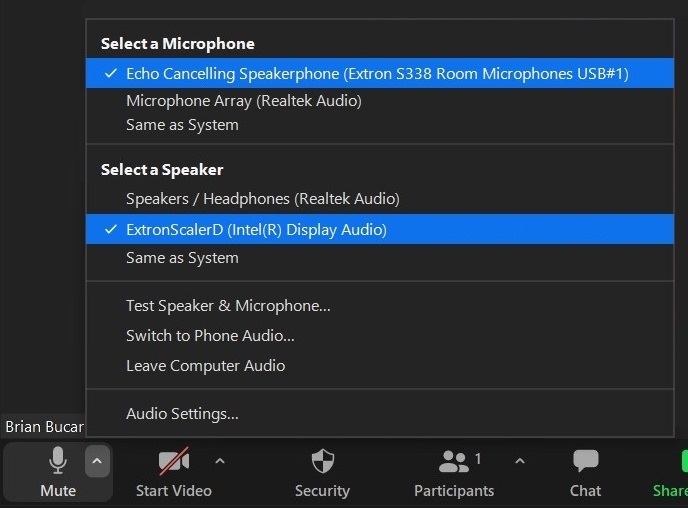
If using the Dedicated PC in the classroom, the USB connections will be automatically switched from the "USB AUDIO/VIDEO" cable to the Dedicated PC when the PC is selected as an input. There is no need to plug the "USB AUDIO/VIDEO" cable into the Dedicated PC.Set your Audio and Video Settings in your video conferencing software. (Zoom and Microsoft Teams shown, others similar)

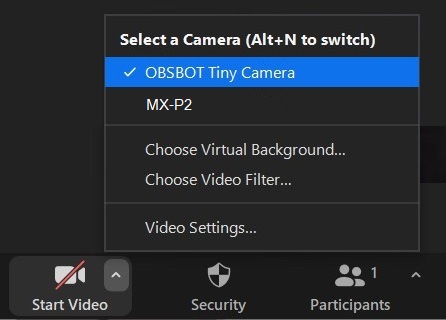

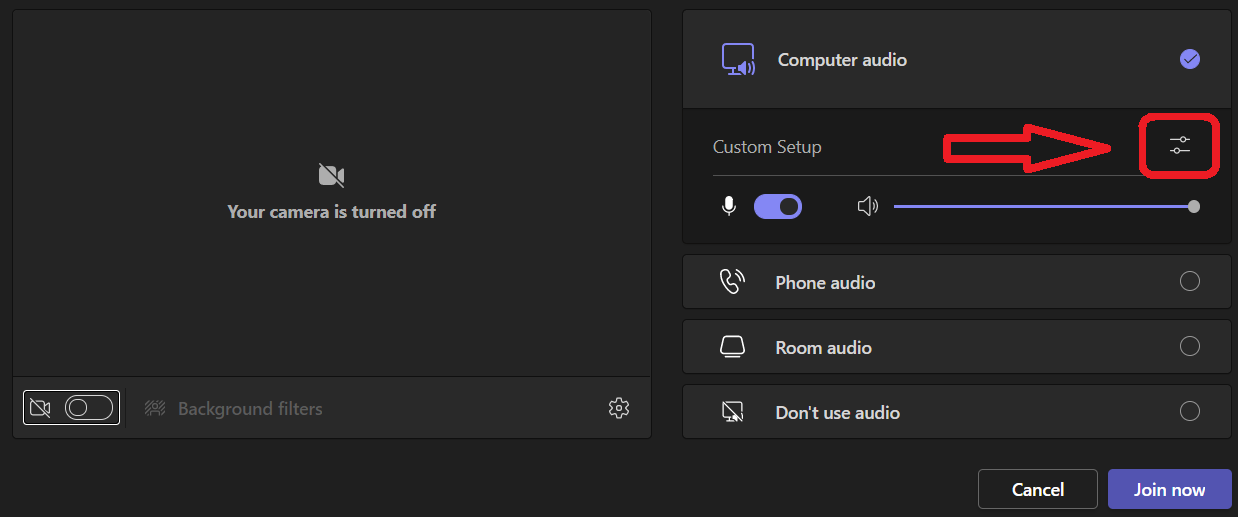
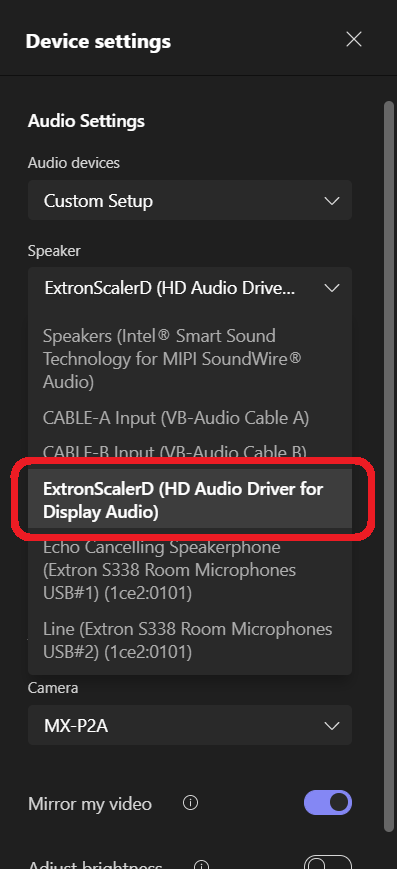
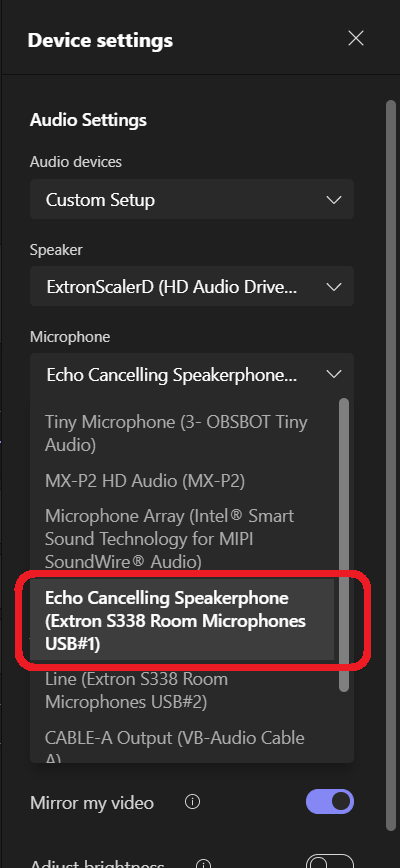

Note: Noise suppression should be turned off in Zoom and Teams as the Hybrid Classroom System has noise suppression built in.The OBSBOT Tiny Camera has auto tracking features that can be controlled with hand gestures or with an app. Note: In order to successfully utilize the hand gestures to control the camera, manually aim the camera so that you are standing with a plain background behind you before attempting to perform the gesture.

These spaces also have a Elmo MX-P2 Document Camera that can feed its video signal into the projection system and also into the presenters laptop via the "USB AUDIO/VIDEO" cable. If you would like to share the video feed from the Elmo document camera into video conferencing software such as Zoom, select "MX-P2" as the camera. See image in Step 4.
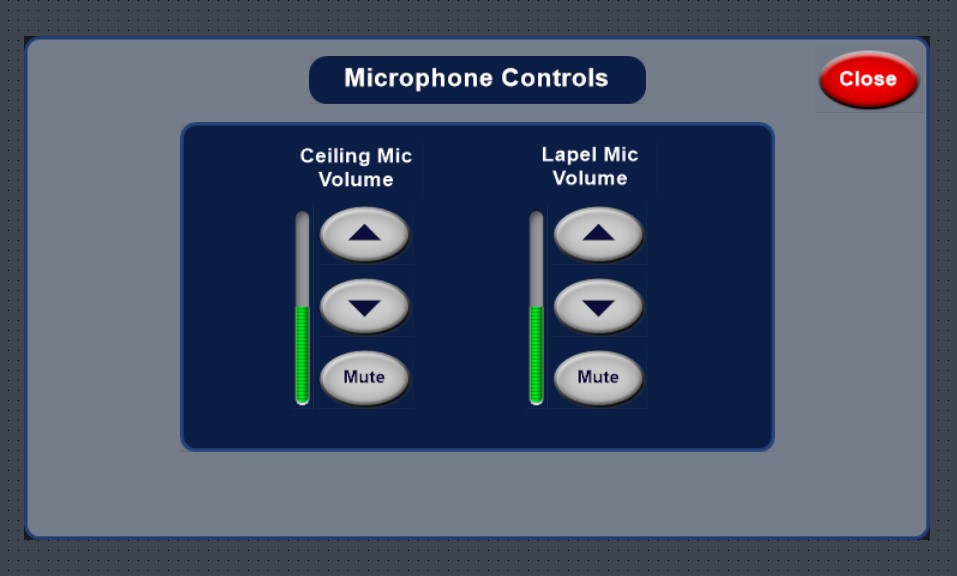
There is a lapel mic that provides vocal support to the space itself and also feeds audio to remote participants via the "USB AUDIO/VIDEO" cable. This microphone, combined with the ceiling microphones provide more robust audio support for the remote participants.


If the audio levels are not adequate for the space or for the remote participants, they can be adjusted via the "MIC CONTROLS" menu on the Extron touch controller in Welles 121, 123, South 338, and 340.

In Welles 24 and 26, audio levels can be adjusted via the "MIC CONTROLS" menu on the Extron touch controller.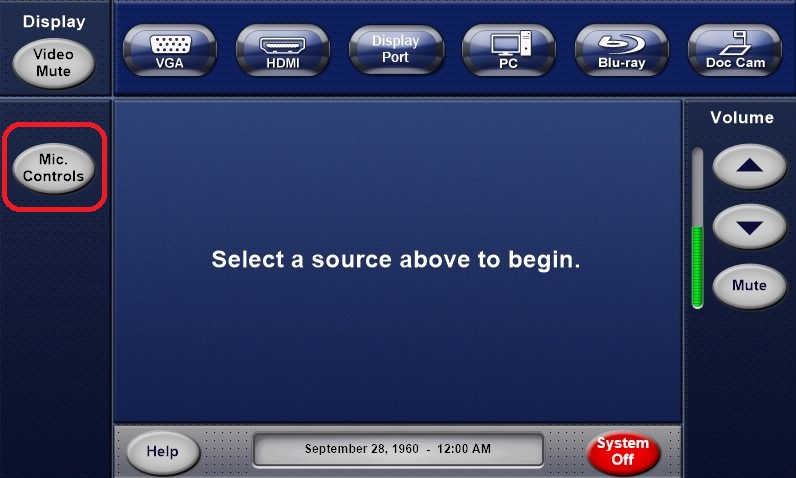
Related articles
| Filter by label (Content by label) | ||||||||||||||||||||
|---|---|---|---|---|---|---|---|---|---|---|---|---|---|---|---|---|---|---|---|---|
|
...